QAAPT-WHONET Interoperability Guideline


This tutorial demonstrates how to export WHONET raw data and prepare it for QAAPT import. This step by step guideline will help you in two ways to export WHONET data. Lets get started!

Process-1: WHONET Data Export using Data Analysis Module


We assume that you already have installed the WHONET software and using for the regular data entry, reporting and interpretation. If you are new in WHONET, you can following this tutorial to install it for data entry and reporting: a) WHONET Website (www.whonet.org) or AMR Tracker: https://amrtracker.com/whonet .


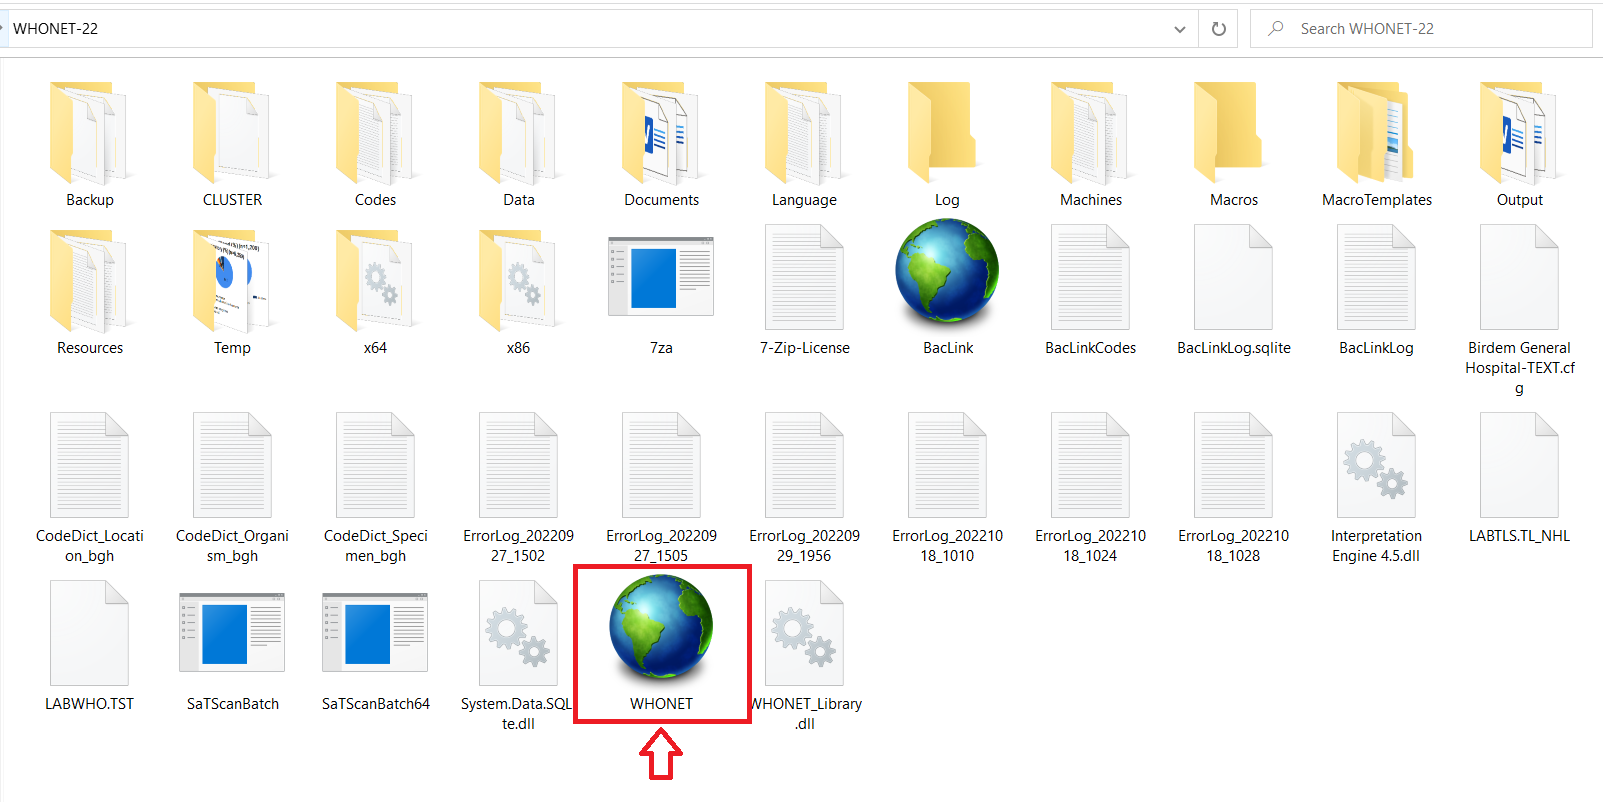
1.1 Navigate your WHONET installation directory (C:/WHONET) and click on the WHONET icon:

Running WHONET

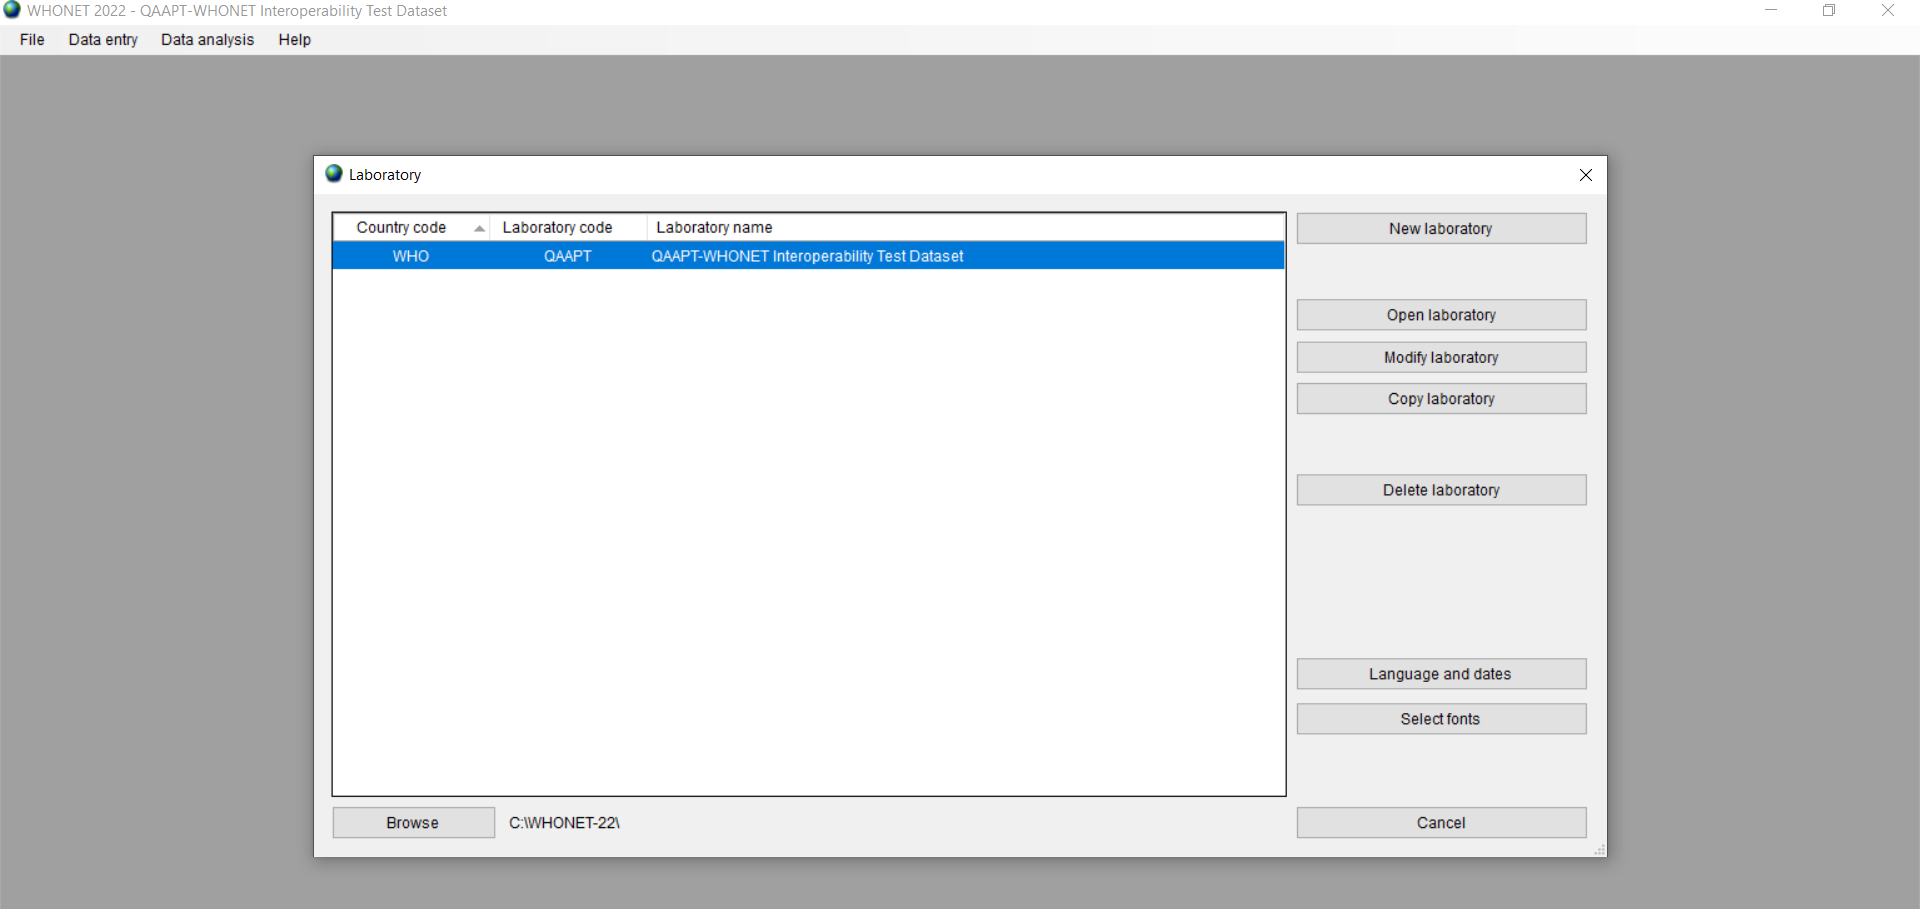
1.2 You can see the list of Laboratories you created. Create a new lab or select your existing lab:

Running WHONET

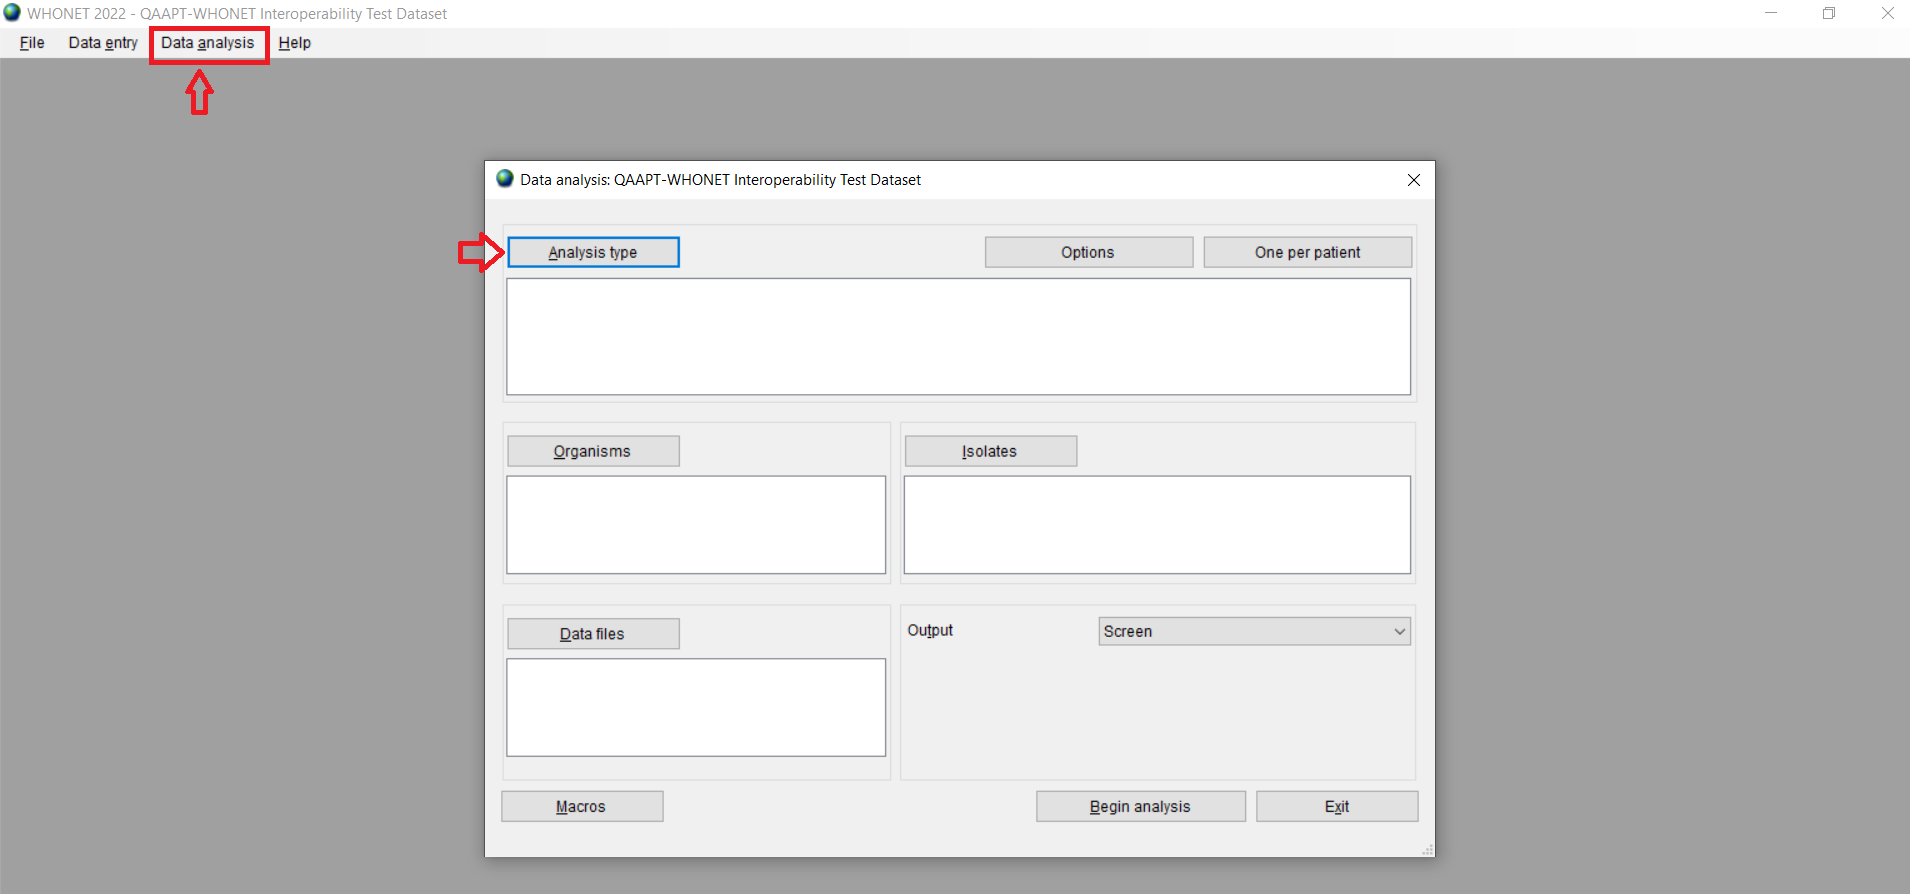
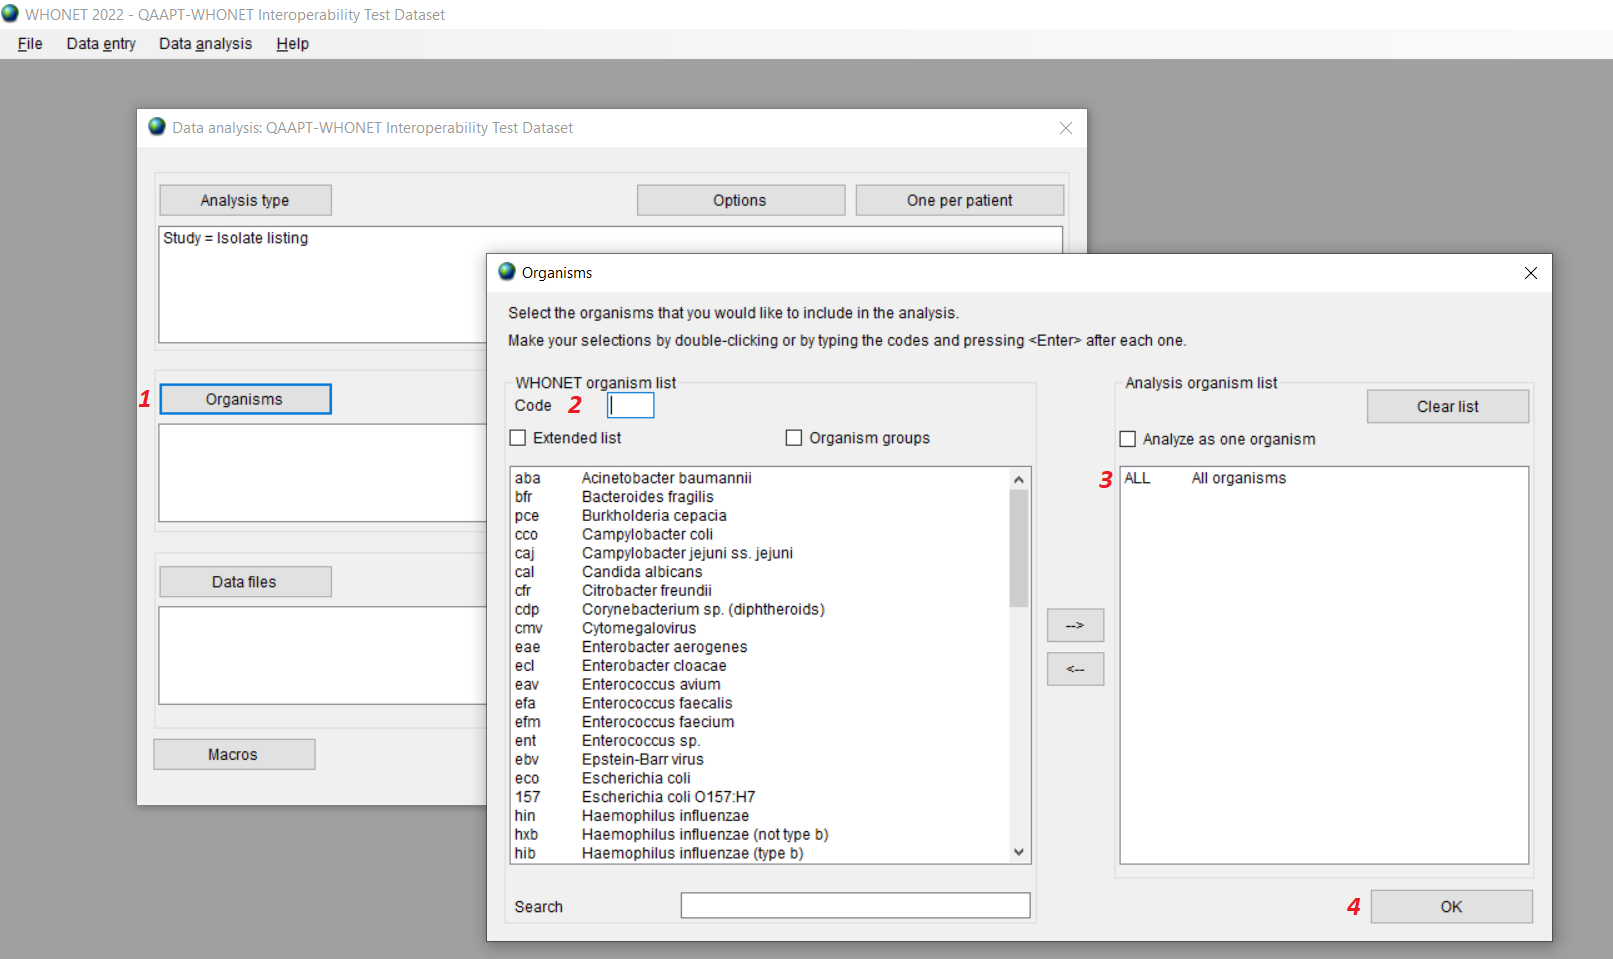
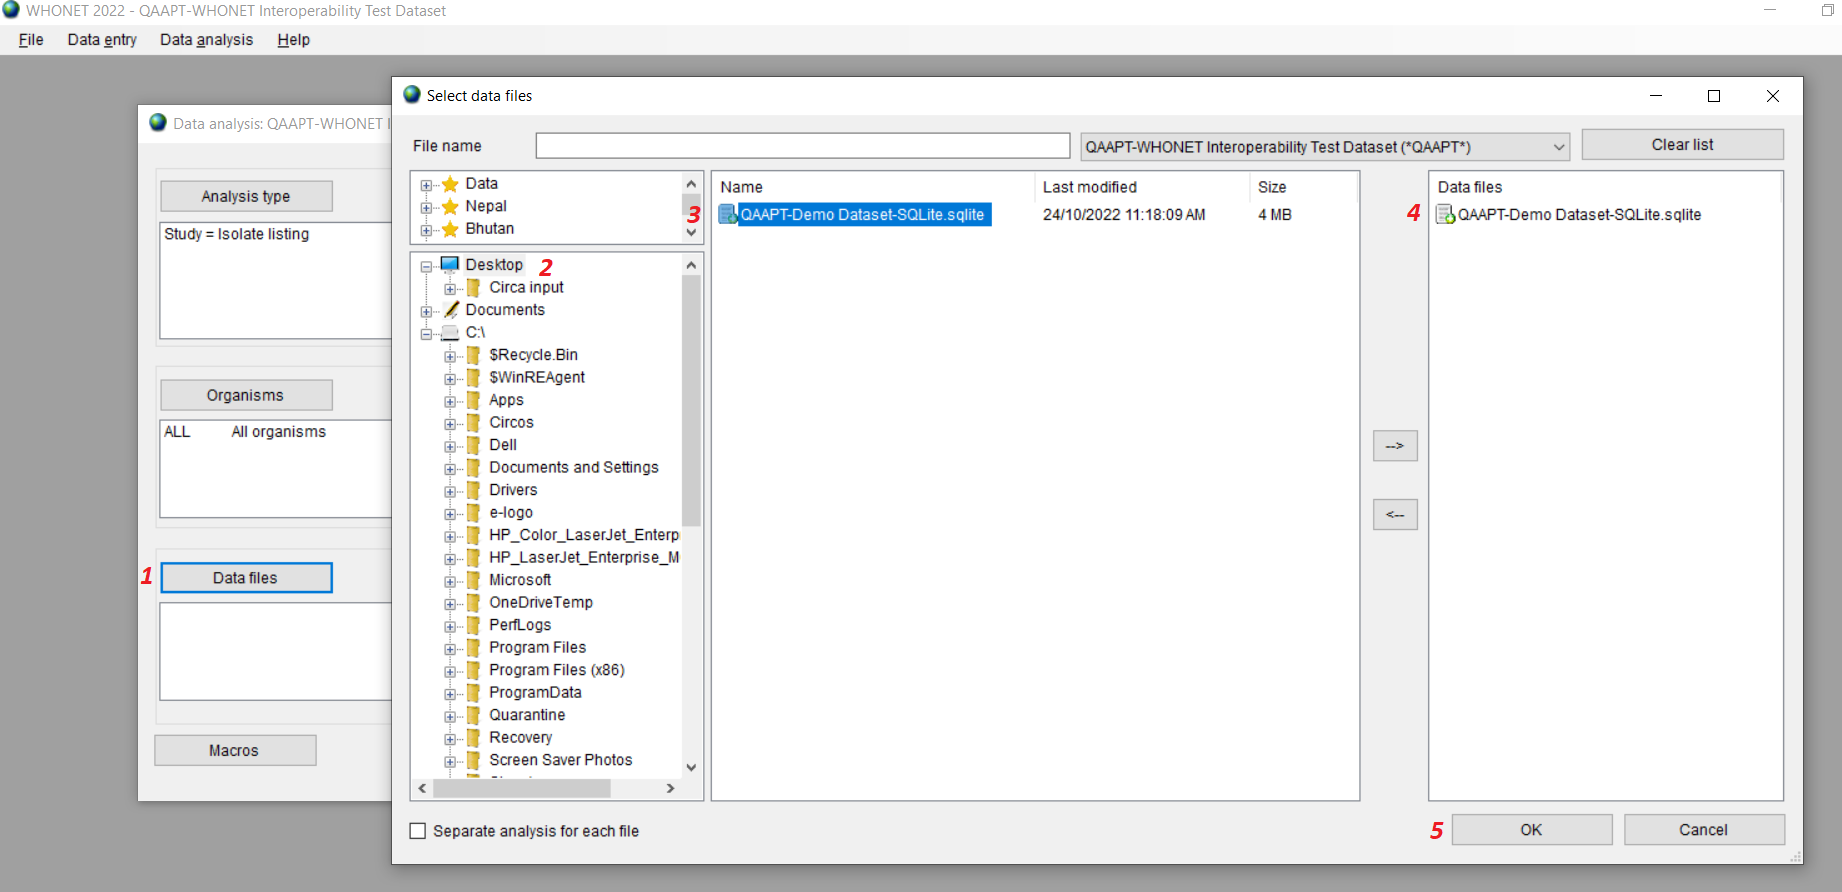
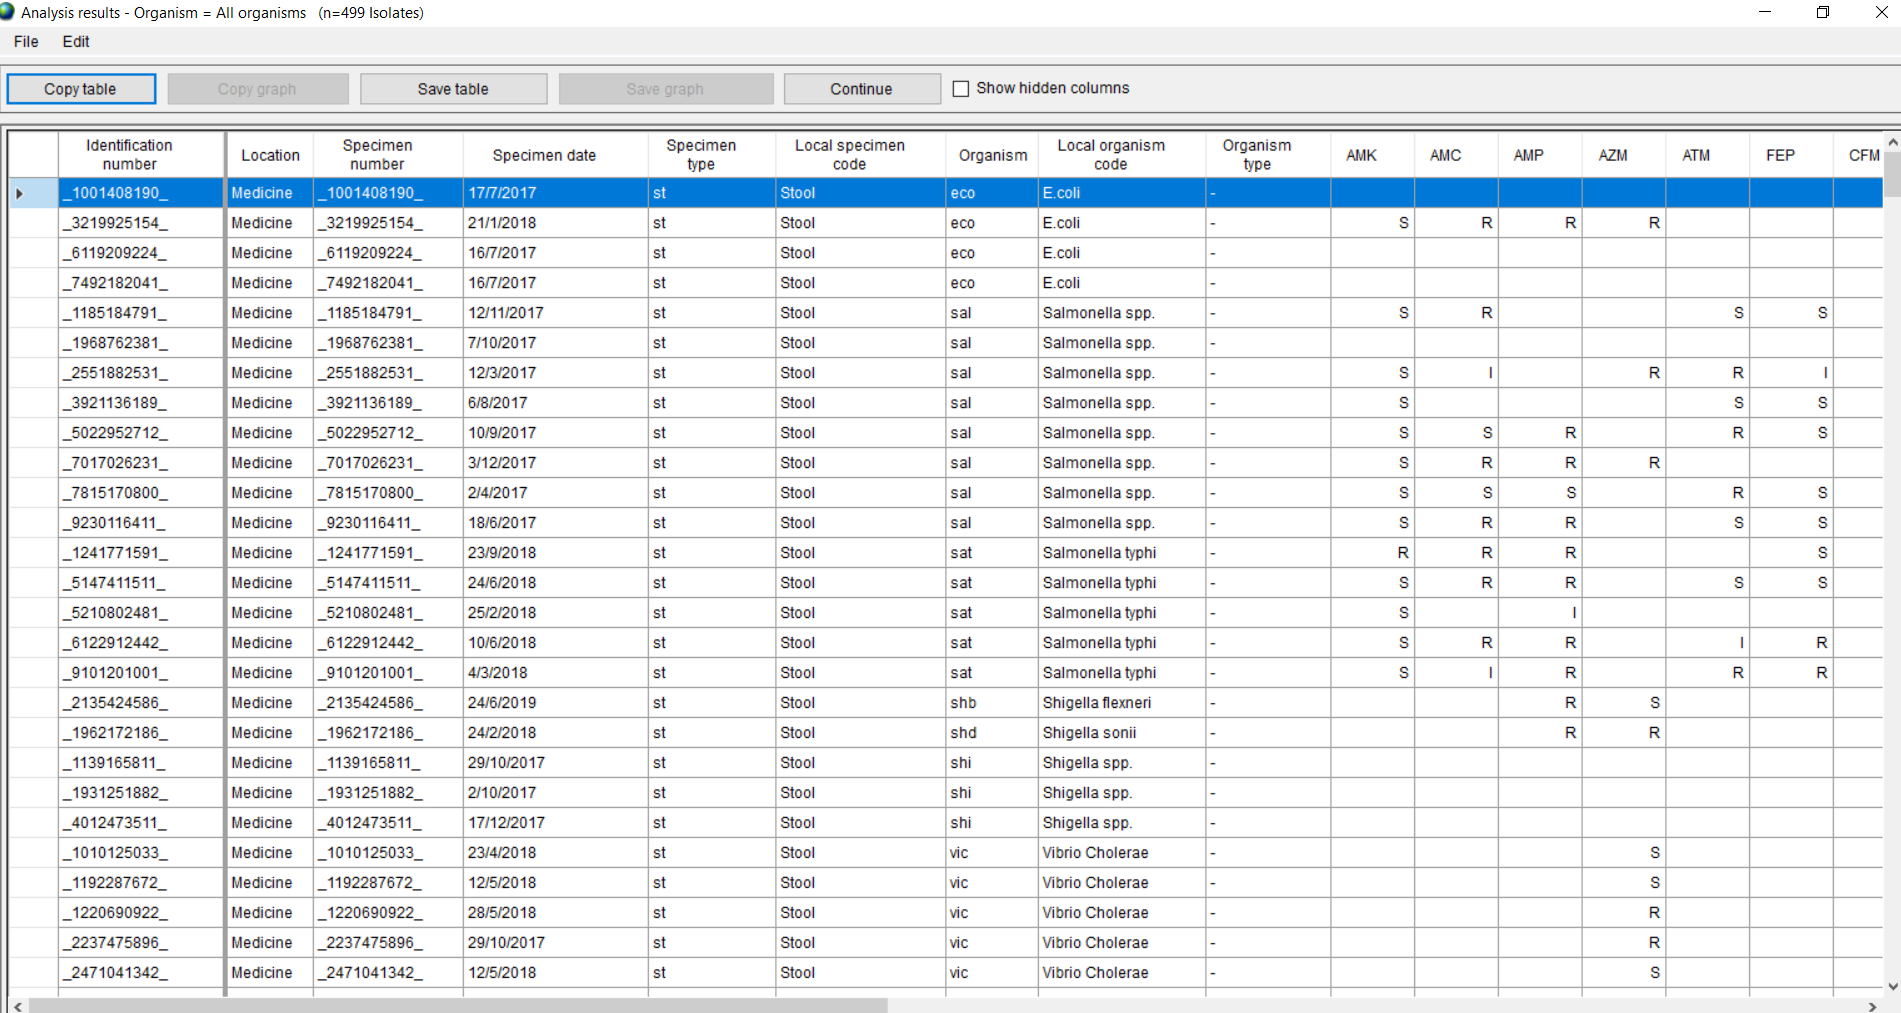
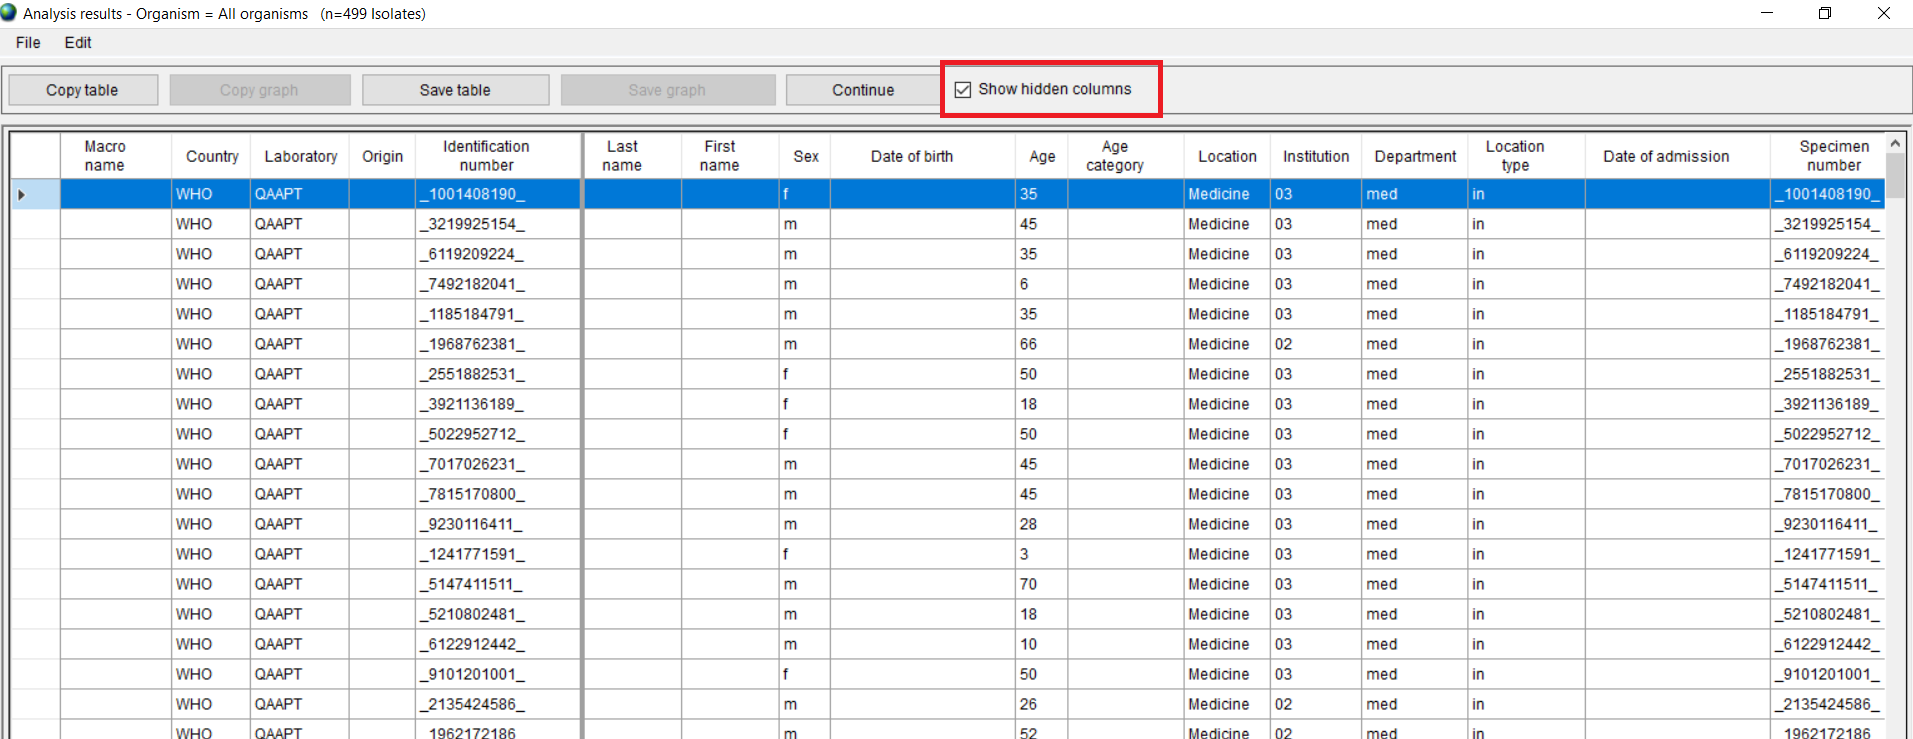
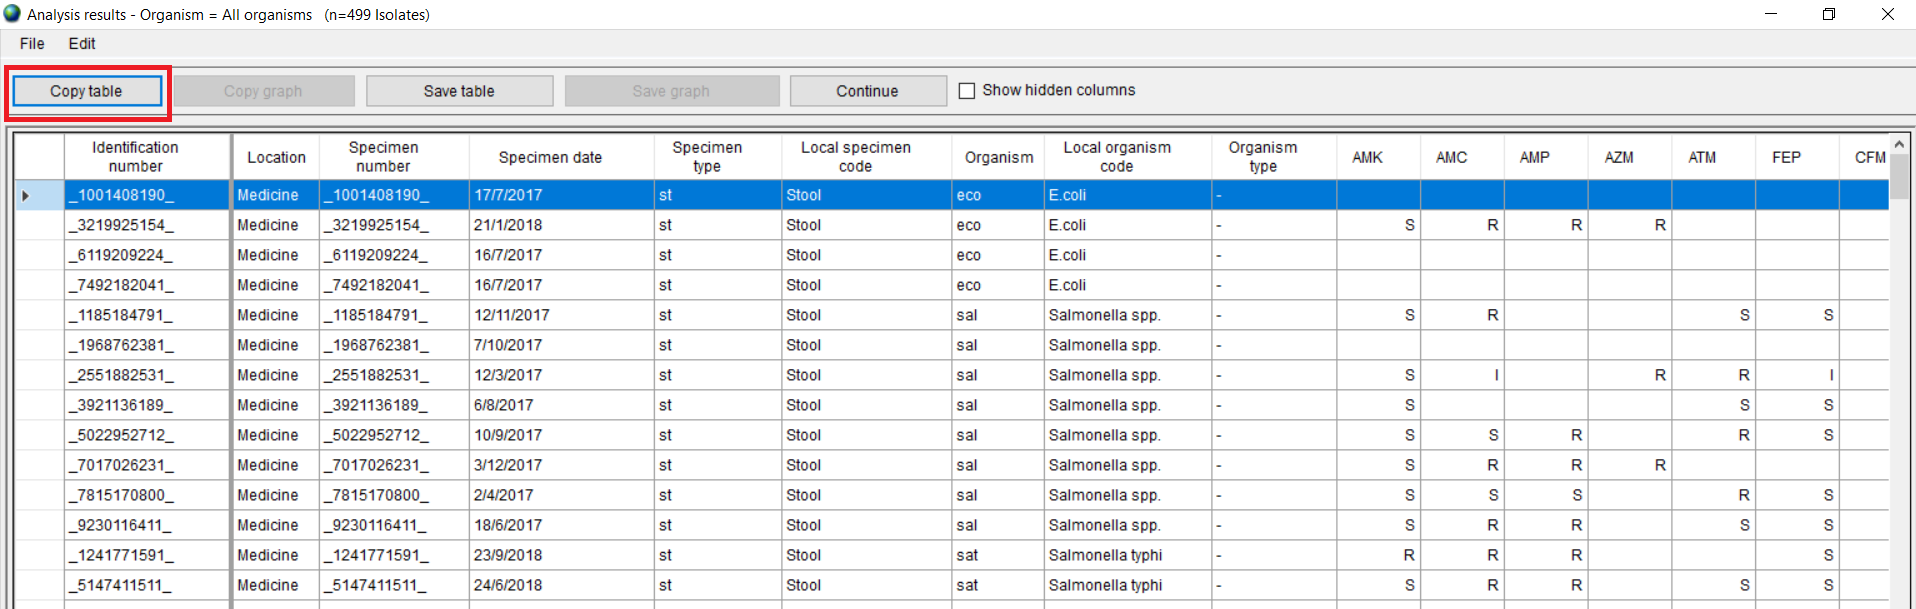
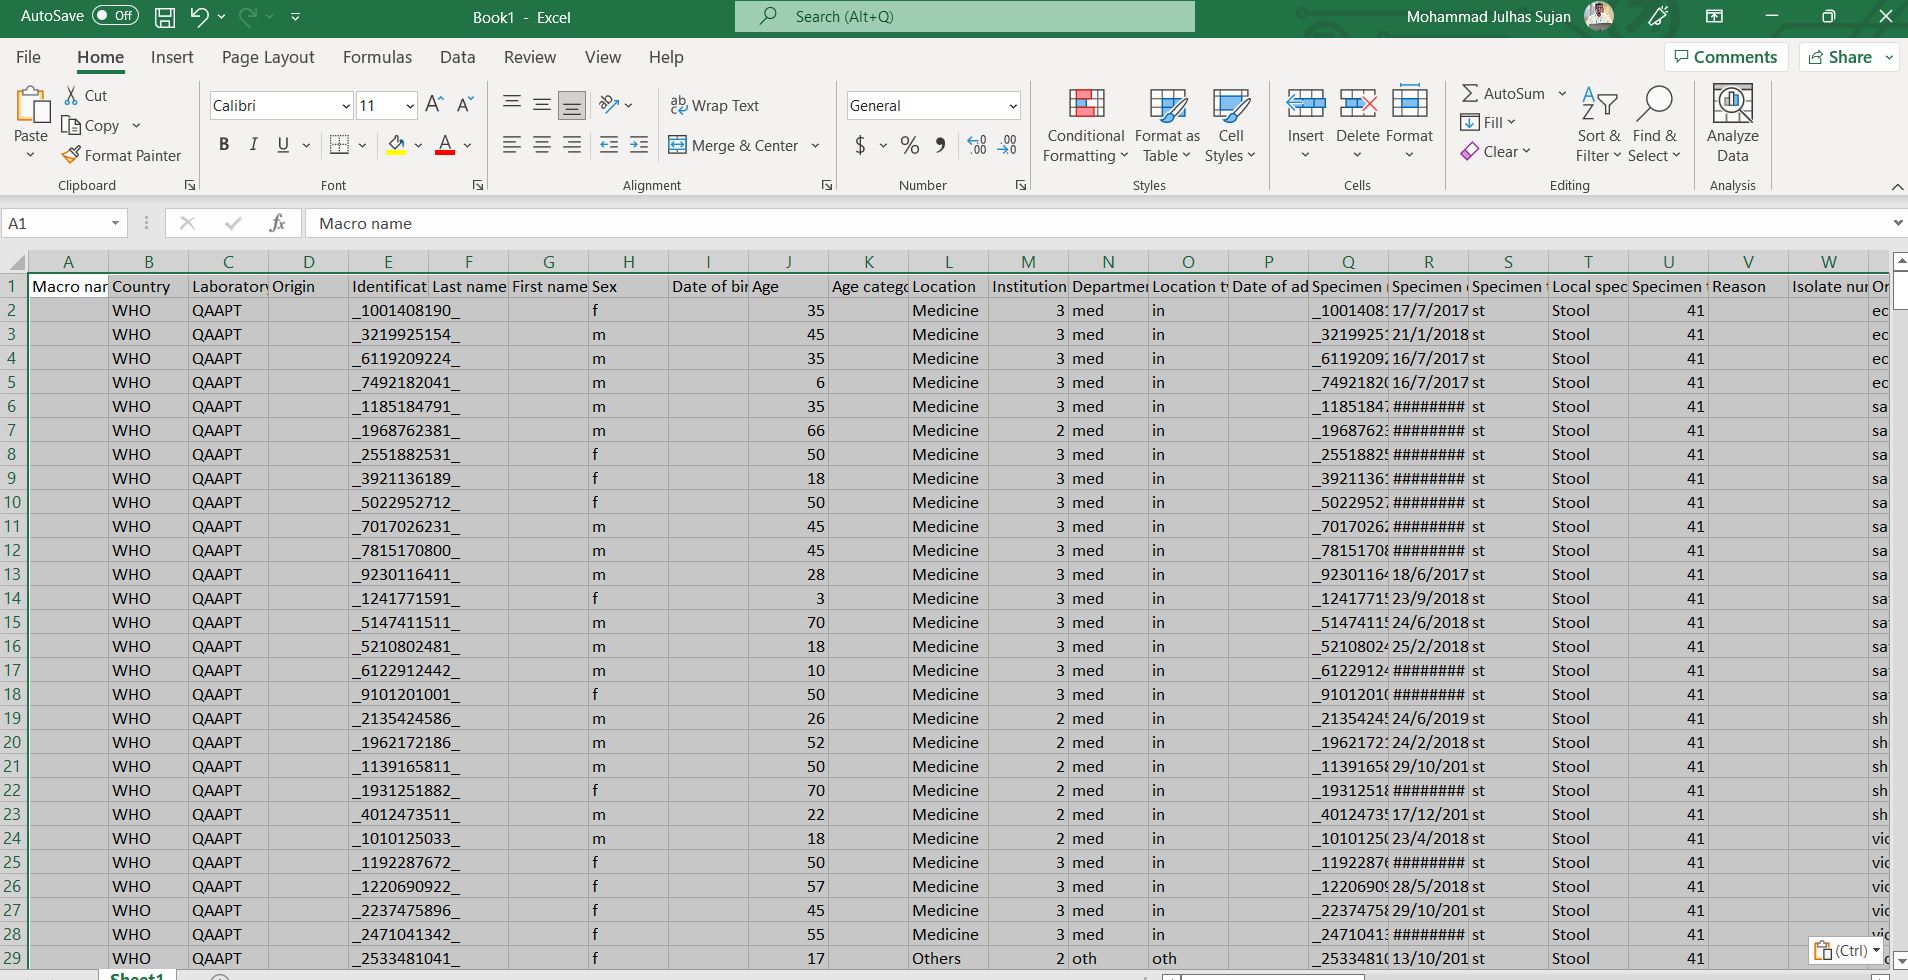
1.3 Click on the Data Analysis Module and follow the part-2 steps

Running WHONET

2.1 Click on the Analysis Type and select 1) Isolate listing and seummary tab and then 2) Listing radio button. Finally, click on the OK button.

Running WHONET

2.2 Click on the Organisms Button and Select 'All'. Finally, click on the Ok button.

Running WHONET

3.1 Select dataset:

  • 1) Select Data files
  • 2) Browse your dataset
  • 3) Double click on the dataset
  • 4) See the selected dataset
  • 5) Click on the Ok button
Running WHONET

3.2 Begin analysis

  • 1) You can switch the output types
  • 2) Start analysis
Running WHONET

3.3 Preview raw data

Running WHONET

4.1 Click on the Show hidden columns

Running WHONET

4.2 Copy the data by clicking on the "Copy table" button

Running WHONET

4.3 Open your Microsoft Excel and Paste it

Running WHONET

4.4 Save the dataset as .csv format (must be comma delimited)

Running WHONET

4.5 File naming convention: Don't add hi-pen (-) in the file name. You can add underscrore (_) or space.

Running WHONET

Congratulations! You have successfully exported WHONET raw data.

5.1 Create a new column 'row_idx' and generate unique ID for this (you can either update the first blank column 'Micro name' by row_idx)

Running WHONET

5.2 Speimen date unification: It support yyyy-mm-dd or mm/dd/yyyy format. You can change the column with any of the mentioned format

Running WHONET

7.1 Select the right sidebar - Import Dataset menu

Running WHONET

7.2 Upload dataset. Browse your CSV data file and click on the import button.

Running WHONET

7.3 Upload processing

Running WHONET

7.4 Upload completion

Running WHONET

7.5 Upload error message: If you try to import the same file twice, it won't permit you to upload.

Running WHONET

8.1 Dashboard view: Click on the left side Dashboard menu.

Running WHONET

8.2 Dataset selection and result preview: Initially, you can see a blank Dashboard. Now, you need to select your uploaded dataset from the Select Dataset dropdown. Click on the search button and see the dashboard:

Running WHONET

Process-2: Export WHONET raw data using SQLite Browser #back to top


The following steps will help you to download SQLite, install and export WHONET raw data. Exporting WHONET datasets is incredibly simple and user-friendly.

3.1 Go to File >> Export >> Table (s) as CSV file and save it. Naming convetion: Don't include hi-pen(-) in your file name.

Running WHONET Running WHONET

3.2 Open the CSV and take a look at the dataset

Running WHONET